In the realm of cryptocurrencies! As we navigate the ever-shifting landscape of digital fortunes, one principle stands as solid as a fortress: security reigns supreme. With the growing popularity of digital assets, the associated risks of online storage have increased as well.
To counteract these risks, hardware wallets have risen as the preferred solution for safeguarding one's valuable crypto holdings. This guide helps you set up your Ledger Nano S hardware wallet, a popular choice for crypto enthusiasts. By doing so, you'll effectively shield your investments from the threats that bloom in the online sphere.
Why Opt for a Ledger Nano S Hardware Wallet?
The Ledger Nano S stands tall as a distinguished hardware wallet that imparts an additional layer of security to your cryptocurrencies. Called a "cold wallet," it is offline and keeps your private keys separate from the internet. This detachment from the online realm drastically slashes the likelihood of falling victim to hacking endeavors, phishing schemes, and malware attacks. To purchase, visit our official website.
Step-by-Step Guide to Configuring Your Ledger Nano S
Step 1: Unboxing and Verifying Contents
Upon receipt of your Ledger Nano S, ensure the package remains sealed and unopened. Perform a content check to confirm the presence of the following items:

Step 2: Establishing a Connection with Your Ledger Nano S
Utilize the provided USB cable to establish a link between your Ledger Nano S and your computer's USB port.
The device will exhibit a welcoming message; proceed by pressing the device's button.

Step 3: Initializing Your Device
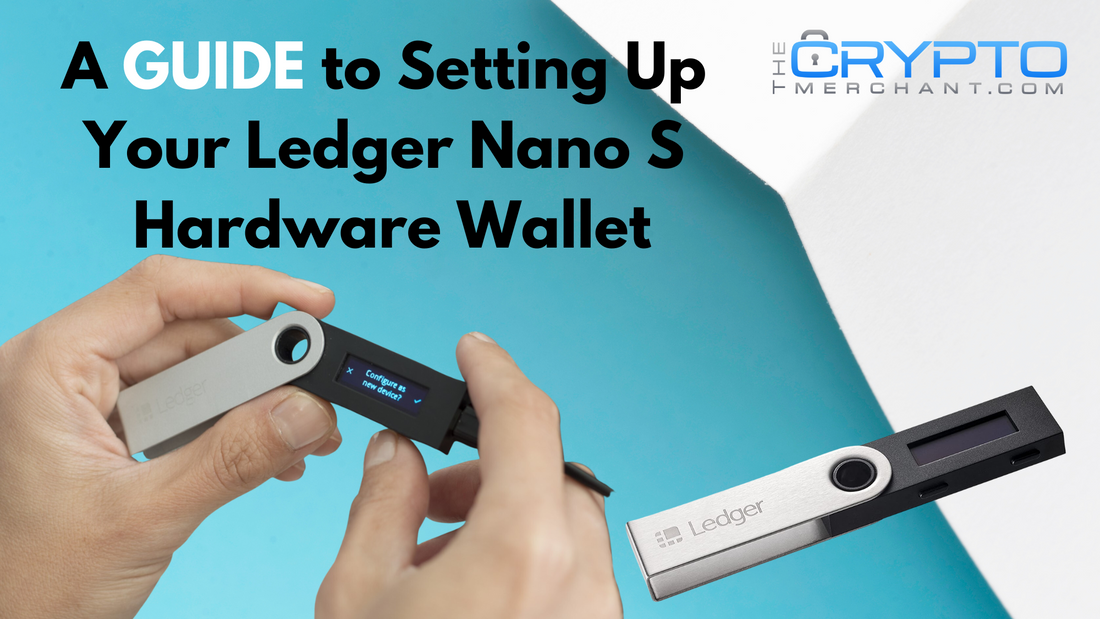
You'll be prompted to choose between setting up the device as new or restoring from a recovery phrase. As this pertains to a new setup, opt for "Configure as new device."
Devise a robust PIN code using the device's buttons. This PIN will serve as the gateway to your wallet, demanding input each time a connection is established.

Step 4: Safeguarding with Backup and Recovery Phrase
Your Ledger Nano S will furnish you with a recovery phrase composed of 24 words. Transcribe these words onto the designated recovery sheet. This phrase stands pivotal in reclaiming your funds should the device be misplaced, stolen, or compromised.
Confirm your recovery phrase in the ensuing step.

Step 5: Integration of Ledger Live
Navigate to the official Ledger website to download the Ledger Live software tailored to your operating system. Install the software and launch it.

Step 6: Inclusion of Accounts
Within Ledger Live, access the "Manager" section to install the requisite cryptocurrency applications corresponding to the coins intended for storage on your Ledger Nano S. Subsequent to installation, return to the central dashboard and select "Add account." Abide by the prompts to link your cryptocurrency accounts with your hardware wallet.

Step 7: Transition of Cryptocurrencies
To send your cryptocurrencies, use the addresses created by your Ledger Nano S. You can find these addresses in the Ledger Live app under the specific coin's account.

Conclusion
The Ledger hardware wallet emerges as a secure and user-friendly repository for your cryptocurrencies in offline realms. After completing this guide, you have successfully set up your Ledger Nano S. You have also made a backup of your recovery phrase. Additionally, you have started transferring your cryptocurrency.
Maintain awareness that the safety of your investments hinges upon your diligence in upholding security best practices. Preserve the sanctity of your recovery phrase offline and secure, refraining from sharing it with others. Having a Ledger Nano S keeps your cryptocurrency safe from online dangers. Keep your crypto investments secure - Get yours now. Happy holding!


